
Yoast SEO is definitely the most downloaded and perhaps the most recommended SEO plugin for WordPress. It has some cool features that can help you boost on-page SEO for your WordPress site. This Yoast SEO tutorial will guide you step by step to set up the Yoast SEO plugin.
While the Basic setup is easy to follow, we will also look into the advanced options in this tutorial. By the end of this article, you will have a complete idea of the Yoast SEO plugin.
Let’s get started.
How to Install Yoast SEO Plugin
Go to your WordPress Dashboard.
Navigate to Plugins>>Add New
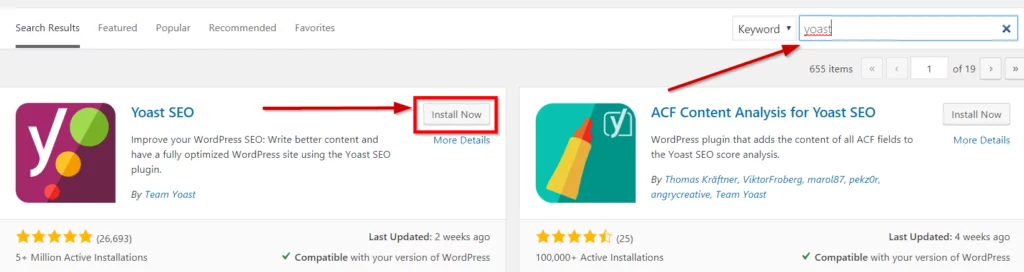
In the search bar, type “Yoast” or “SEO”. You will see the Yoast SEO plugin in search results.
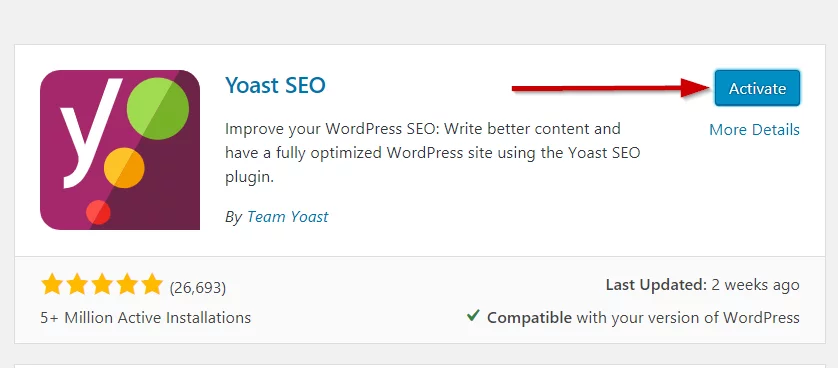
Click on Install Now next to the Yoast SEO plugin. Once it is installed, make sure you click on the “Activate” button.
Once activated, you can access Yoast SEO from the SEO tab right below the Settings tab in the sidebar of the dashboard.
How to Set up Yoast SEO
Now that you have installed Yoast SEO, we can start with the setup process. Setting up Yoast SEO is an easy process, thanks to the configuration wizard that comes with the plugin.
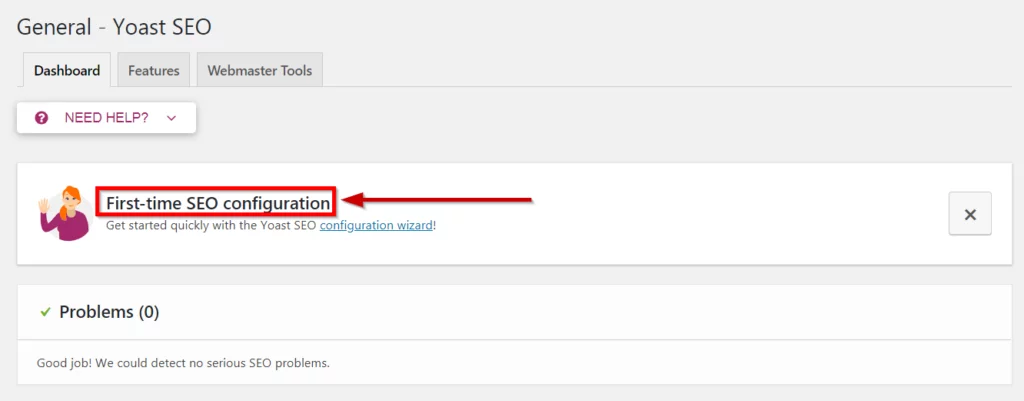
We will walk you through the configuration wizard so that you set up key things for Yoast SEO.
Step 1: The Environment
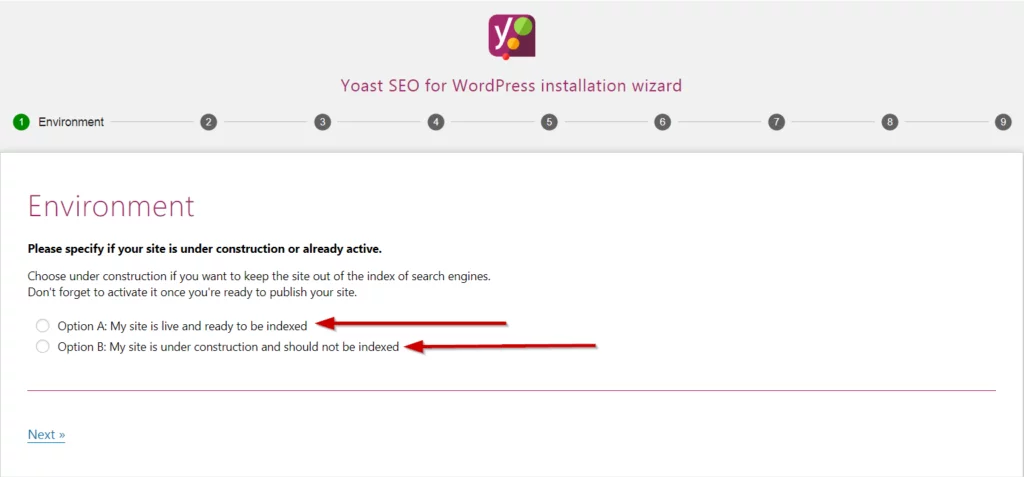
In the very first step, Yoast SEO asks if your site is active or under-construction. This helps if you don’t want your site to be indexed by the search engines. You can revisit this setting later when you are ready to publish your site.
If you have a live site that is ready to be indexed then choose the first option and get started. We have chosen the first option (i.e. My site is live and ready to be indexed)
Step 2: Site Type
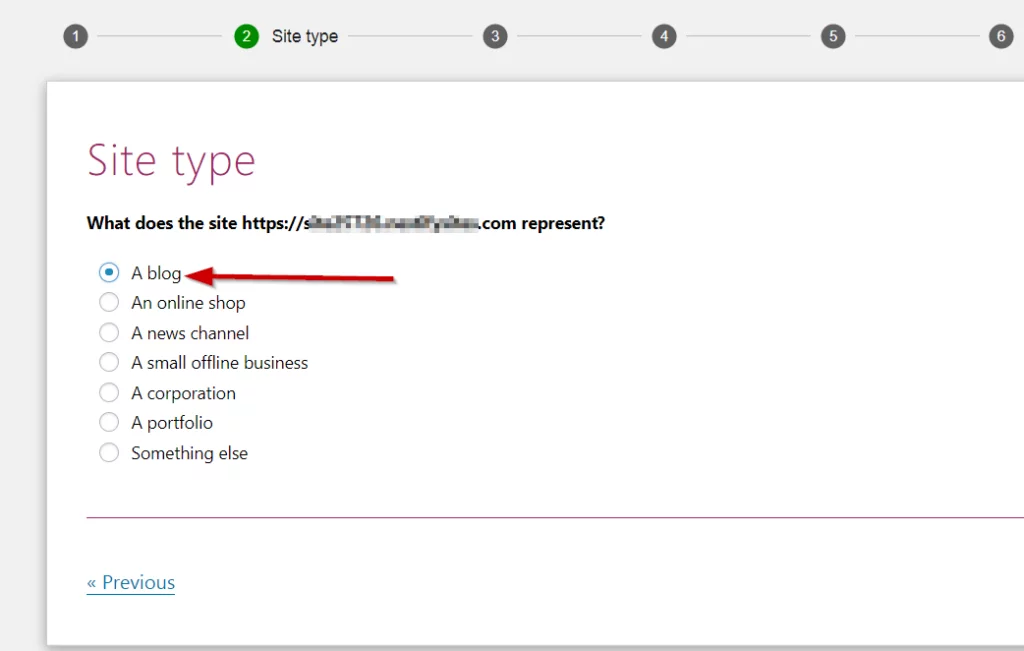
The second step is to select the type of the site you are having. These are the options to choose from:
- A blog
- An online shop
- A news channel
- A small offline business
- A corporation
- A portfolio
- Something else
For the sake of this example, we have selected the site type as “blog”
Click on “Next”.
Step 3: Organization or Person
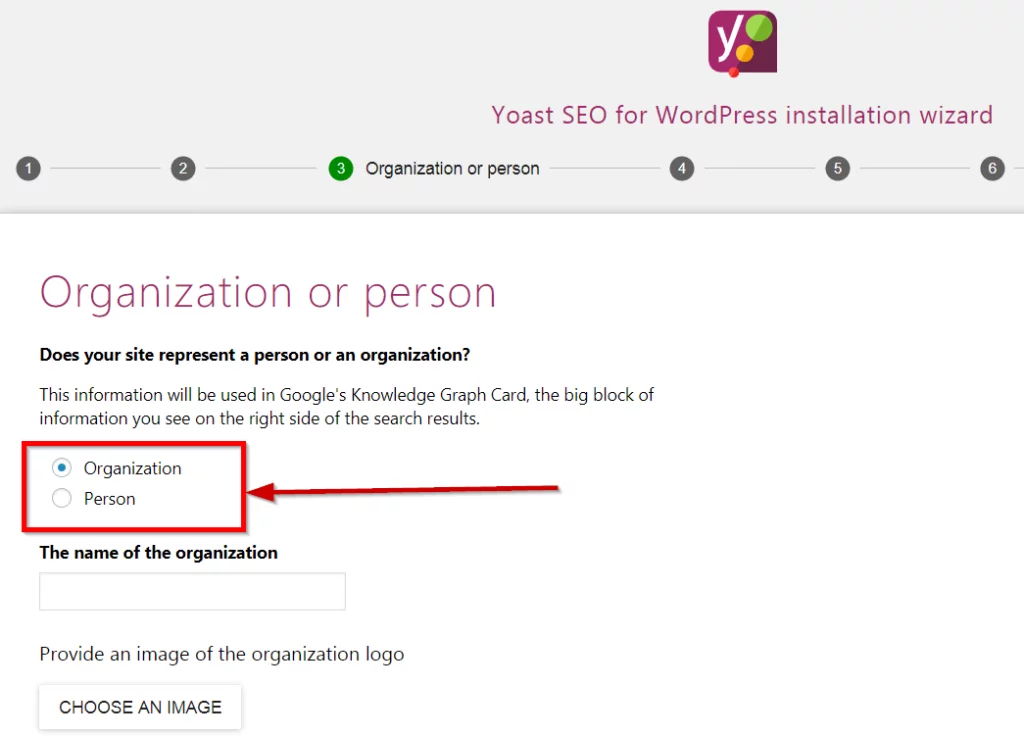
In this step, you should choose whether your site represents a person or an organization. This is important as the plugin will configure separate options for the choice you make.
If yours is a site for an organization, then you can upload the logo of your organization. Also, you can mention links of social media profiles of your organization. Every organization also needs to use a good managed WordPress hosting solution to protect the corporate image.
If you have a personal website, then you will have different options to choose from.
Once you fill the relevant details, click on Next.
Step 4: Search Engine Visibility
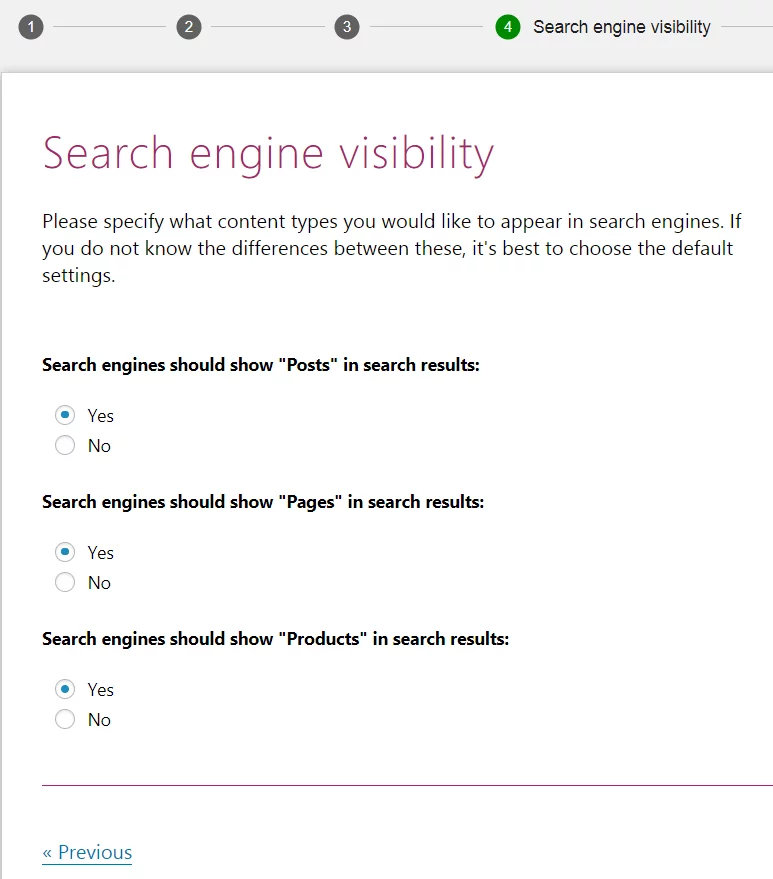
This steps gives you some control over the search engine visibility of your website.
You can decide if search engines should show the following in search results:
- Posts
- Pages
- Products
If you are not sure about this setting, then it’s best to keep the default values unchanged.
Step 5: Multiple Authors
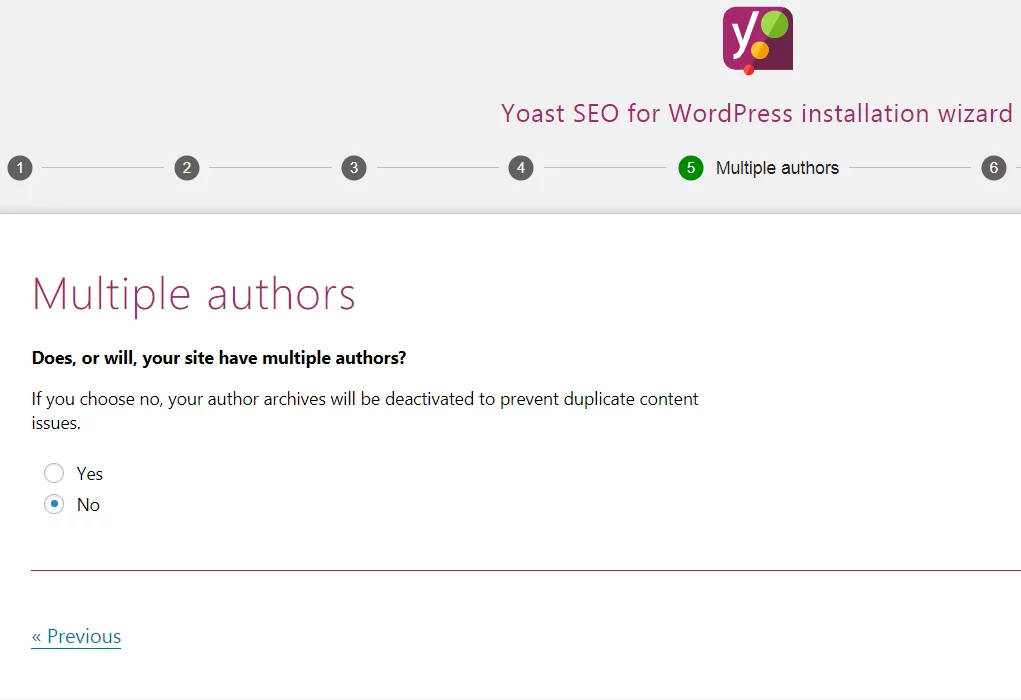
If your website has multiple authors contributing to it, then you choose “yes”. This will create author archives to separately optimize the content of each author for SEO.
If your site does not have multiple authors, then the plugin will deactivate author archives to prevent duplicate content.
Step 6: Title Settings
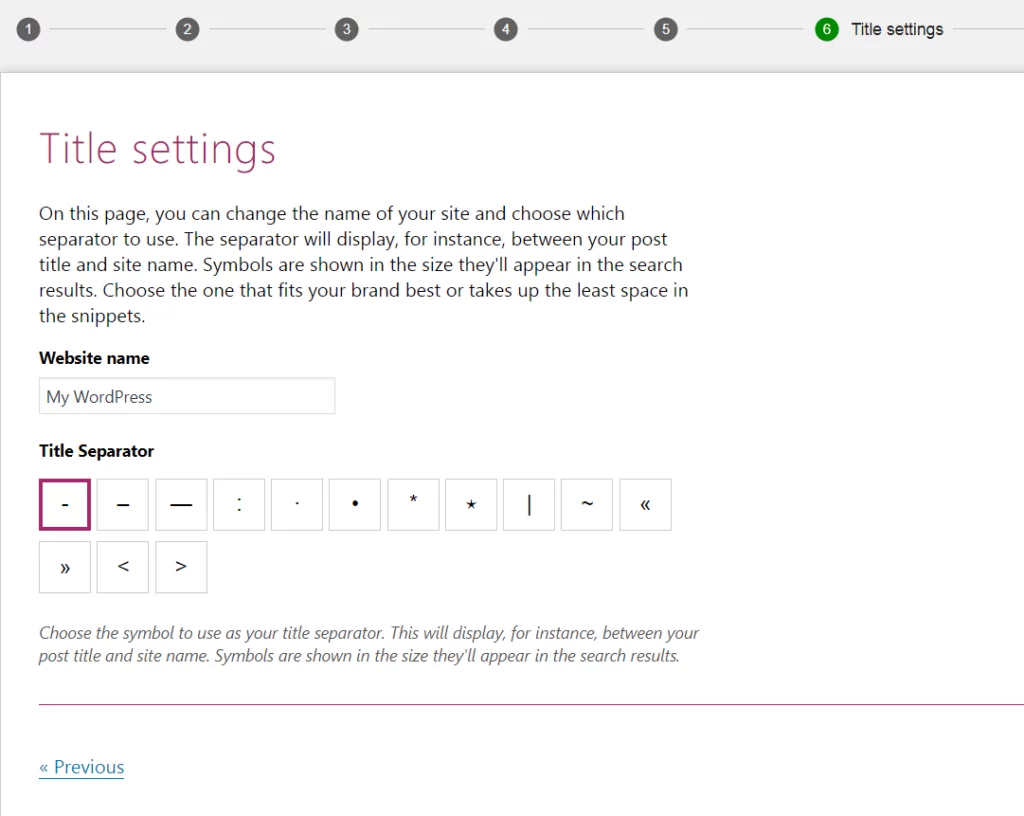
This setting lets you choose the Website name and Title separator. Title separator appears between the title and site name. Make sure you choose appropriate title separator so that it takes up the least space in the snippets.
Step 7: Newsletter Signup

You can skip this step if you don’t want to sign up for the Yoast Newsletter.
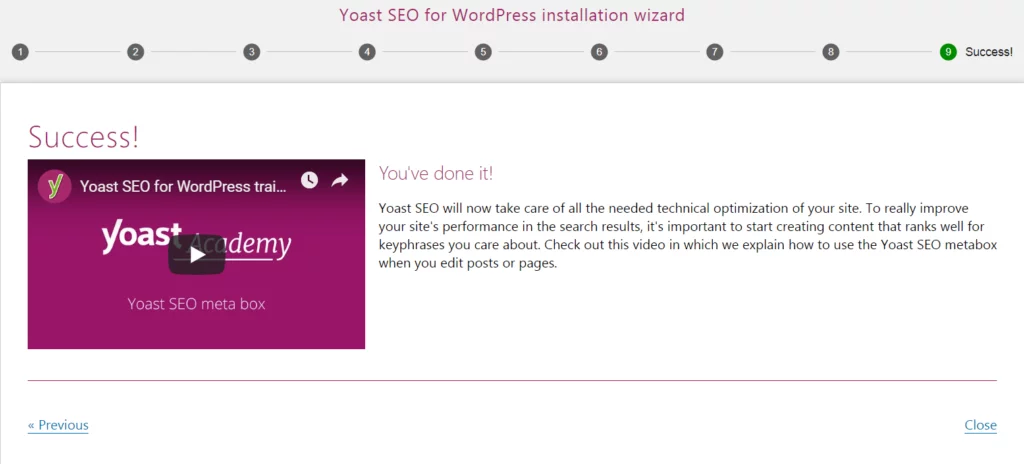
Skip Step 8 as it is merely promotional content. Once you skip it, you will see the Success message.
Congratulations! Your Yoast SEO plugin is set up now.
Yoast SEO In-Depth Settings:
So far we have seen the basic settings available with the Configuration Wizard. Now we will have a look at the settings which we missed in the basic setup. When you click on the Yoast SEO tab in the dashboard, you will find the following settings:
- General
- Search Appearance
- Search Console
- Social
- Tools
Let’s have an in-depth look at each of these settings.
1) General
This includes:
- Dashboard
- Features
- Webmaster Tools
The Dashboard shows you notifications and SEO problems with your site. This is the place where the plugin notifies you if you need to take immediate action.
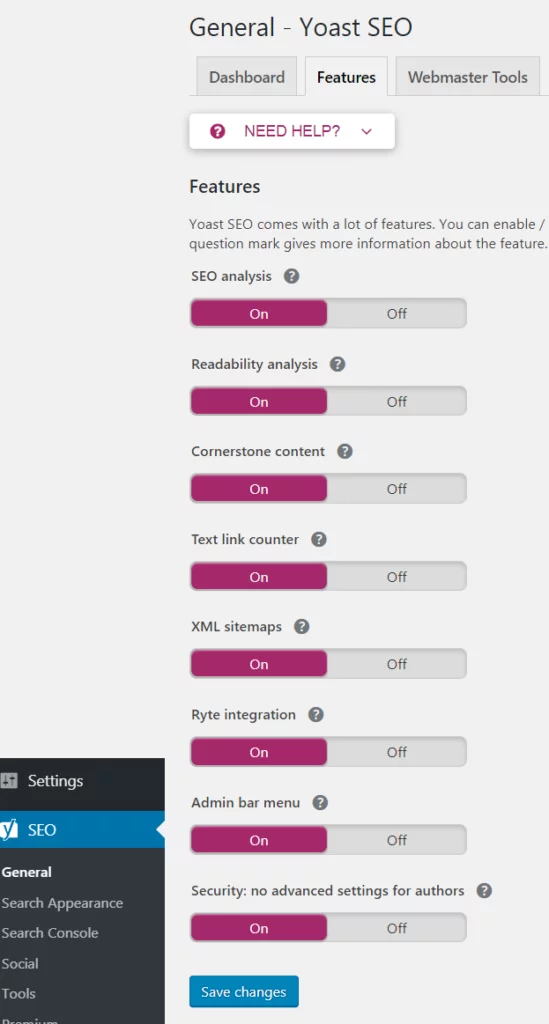
The Features tab lists a number of features available with Yoast SEO. You can easily toggle these ON or OFF. We recommend you enable all the features.
Let’s have a Look at the Features:
- SEO Analysis: This helps in improving the SEO for your text content
- Readability Analysis: This gives suggestions to improve the style and structure of your content
- Cornerstone Content: You can mark and filter cornerstone content on your website.
- Text link counter: This counts the number of internal text links in and to your posts.
- XML Sitemaps: This enables the XML sitemap Yoast SEO generates
- Ryte Integration: This feature checks weekly if your site is still indexable by search engines
- Admin bar menu: This shows links to third-party tools for analyzing pages. This also features new notifications.
- Security: This setting blocks advanced settings for authors. Only site administrators and editors can access these settings. If you turn this OFF everyone will able to access all the settings.
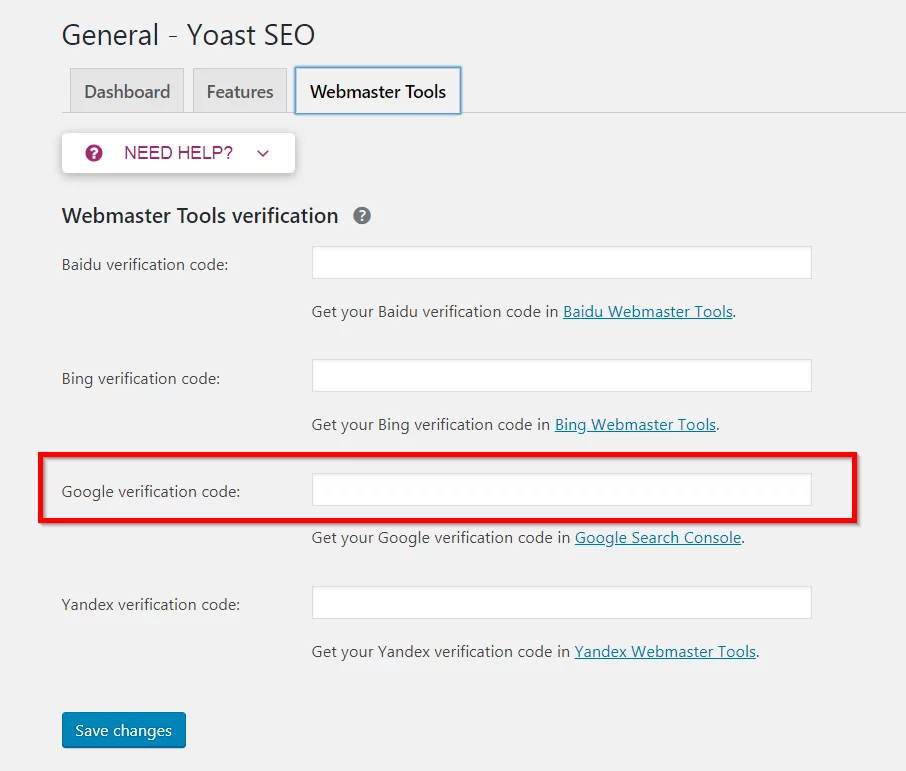
The Webmaster Tools lets you verify different Webmaster Tools accounts. These include:
- Baidu
- Bing
- Yandex
All you need to do is to get the verification from the search engine and put it in the relevant box.
This concludes the General Setting.
2. Search Appearance
The Search Appearance Tab includes exhaustive settings.
These are arranged as:
- General
- Content Types
- Media
- Taxonomies
- Archives
- Breadcrumbs
- RSS
Let’s have a look at each one.
A) General
We can arrange this tab in mainly three categories:
- Title Separator
- Home Page
- Knowledge Graph
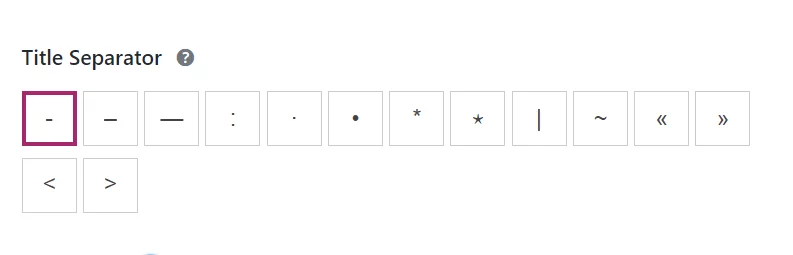
Title Separator
We have already seen the Title Separator in the configuration wizard. You can choose the appropriate separator from the options provided.
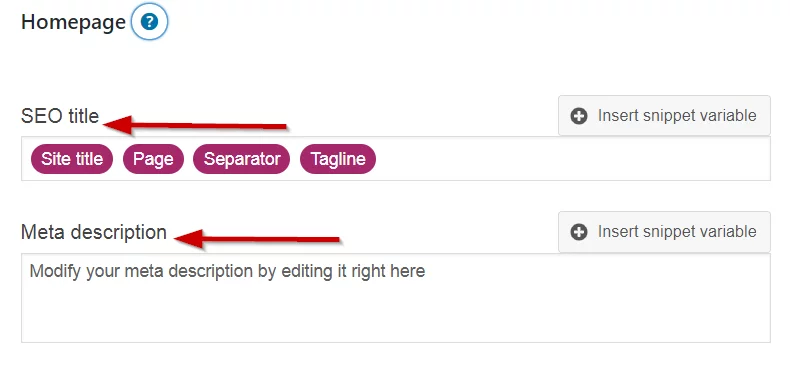
Home Page
Here is a very important setting so pay close attention to what you put here. This setting defines the SEO Title and Meta Description for your Home Page. This is what appears in the search results when people find your home page.
Select a good SEO title for your Home page.
Enter the Meta Description in the box provided.
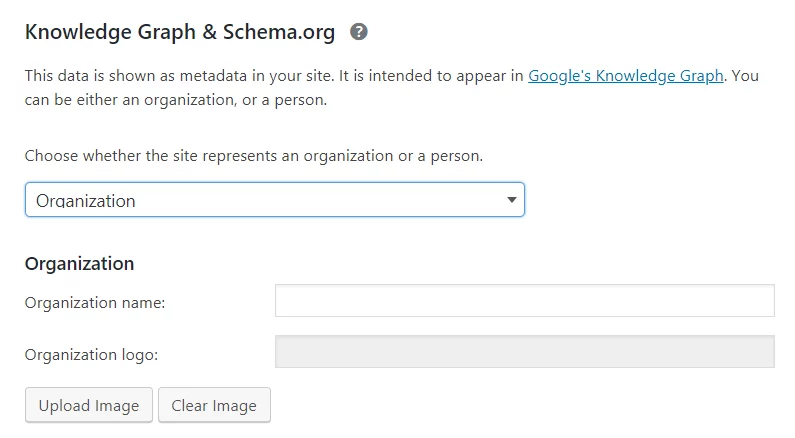
Knowledge Graph
The plugin collects this data so that it can appear in Google Knowledge Graph.
Basically, you need to choose if your website belongs to an Organization or a Person.
In the case of Organization, you will provide Organization name and logo.
For a Person, you need to select a user and upload Person logo/ avatar.
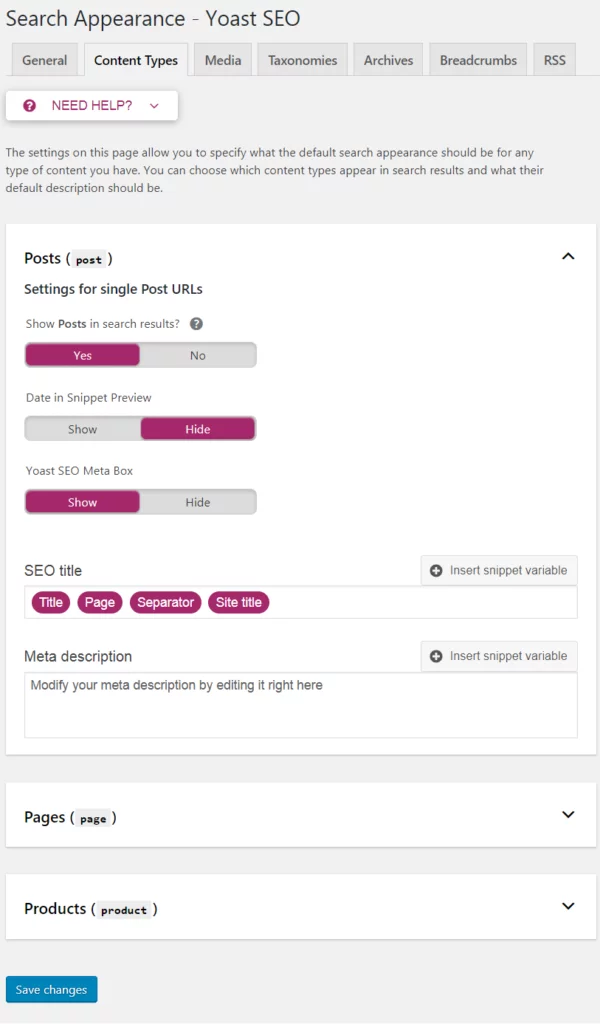
B) Content Types
This includes settings for Posts, Pages and products.
For each of these, you can select if you want you to show them in the search results.
You can choose to show or hide date in snippet preview. You can also show or hide Yoast SEO Meta box.
Select SEO title and enter the Meta Description for each content type.
C) Media
This setting lets you redirect attachment URLs to the attachment itself. Yoast SEO recommends that keep this setting to Yes.

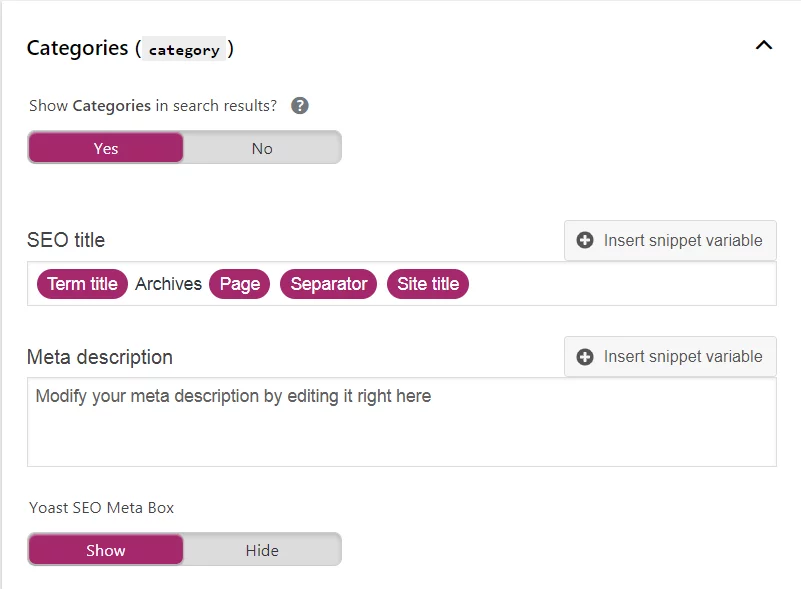
D) Taxonomies
Here you can choose to give Title and Meta Description for the following:
- Categories
- Tags
- Formats
- Product Categories
- Product Tags
- Product shipping classes
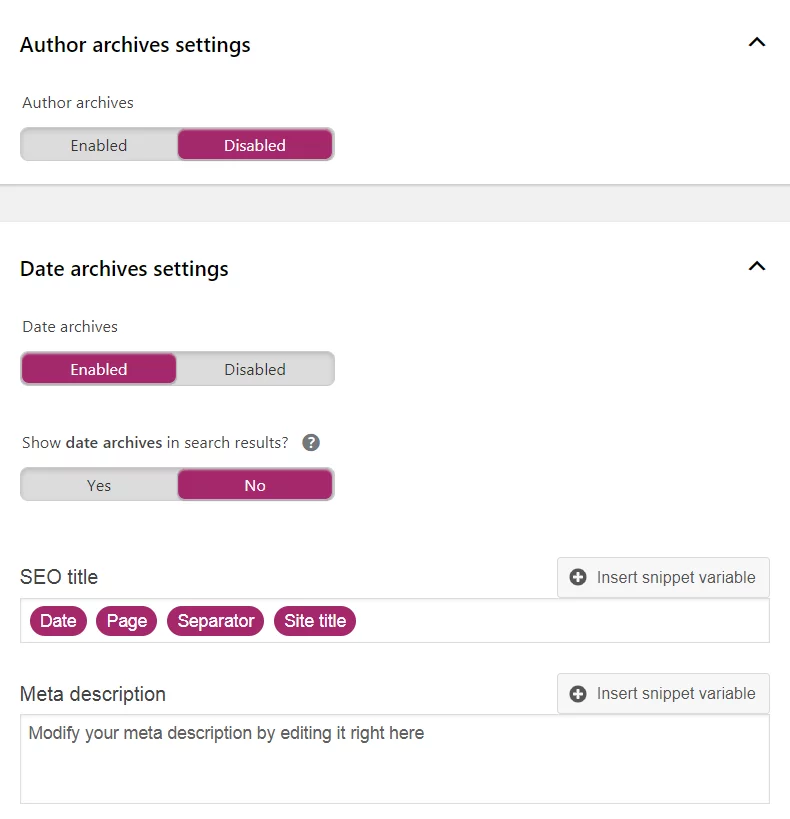
E) Archives
The Archives tab includes settings for:
- Author Archives: This setting is disabled by default to avoid duplicate content
- Date Archive Settings: You can enable or disable date archives
- Special Pages: These include Search pages and 404 pages etc.
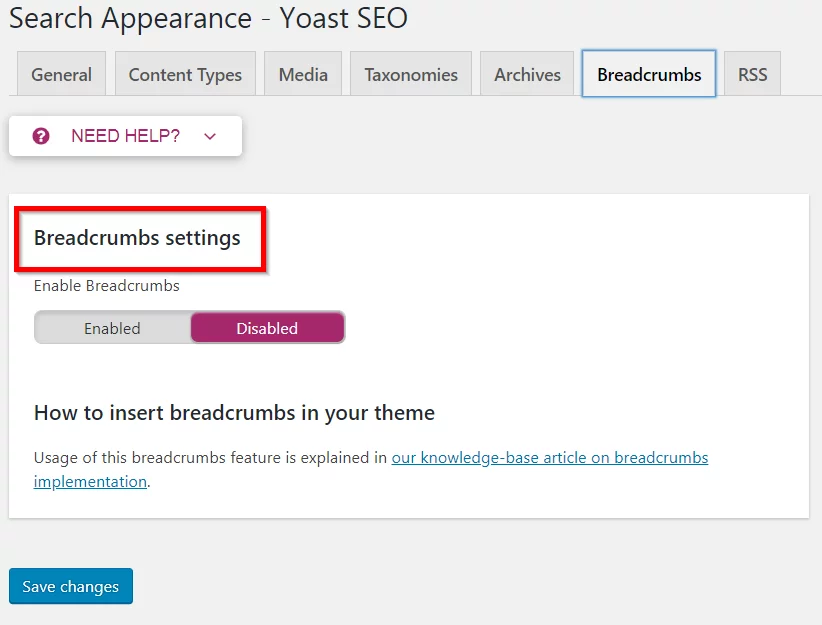
F) Breadcrumbs
Here you can enable or disable breadcrumbs for your site. Breadcrumbs help users navigate through your website.
G) RSS
The RSS feed settings allow you to put a fixed content before and after each post in the feed. This can be a call to action or just plain advertizing.
Here you will find link variables that you can use in each post in RSS feed.

This concludes the settings in the Search Appearance tab.
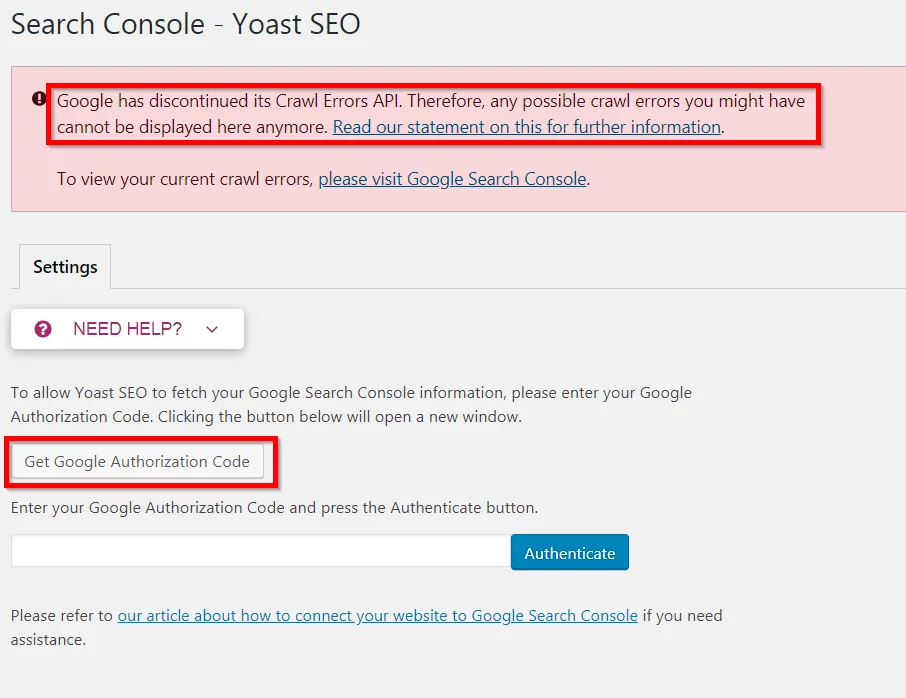
3. Search Console
This setting is not much of use as Google has discontinued its Crawl Errors API. This setting can no longer display crawl errors.
The only thing you can set here is the Authentication with Google Authorization Code so that Yoast can fetch your Google Search Console information.
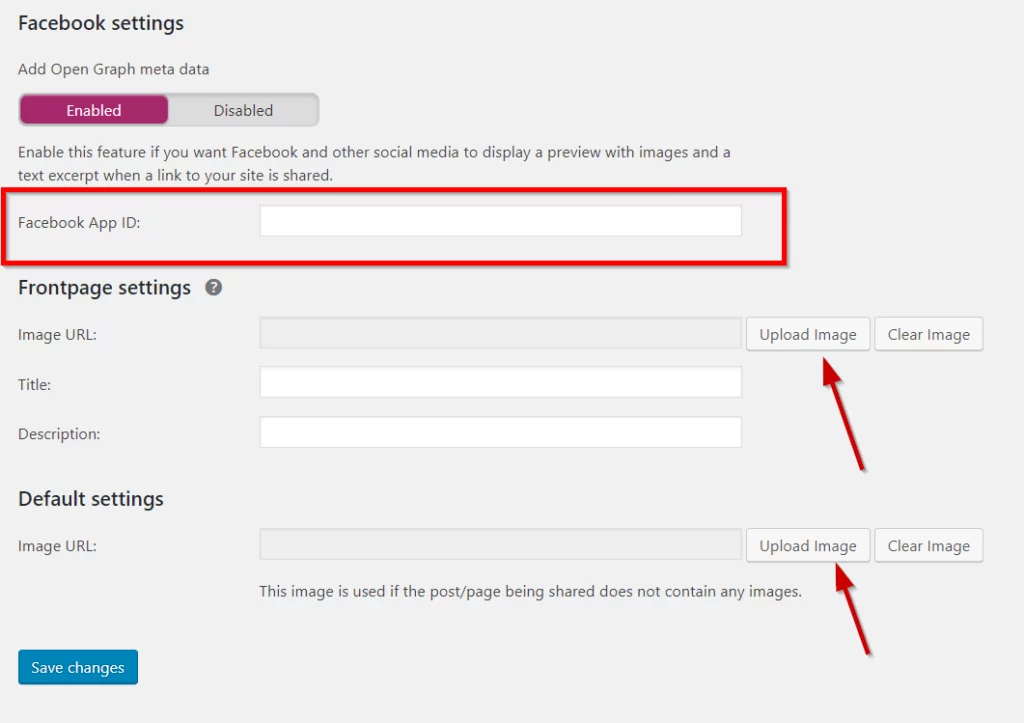
4. Social
Here you can set up information for your Social Accounts. This setting is different for Organization and Person accounts so make sure you have selected the right one.
The social settings use OpenGraph to display links optimized for social media sites.
For example, the setting page for Facebook looks like this:
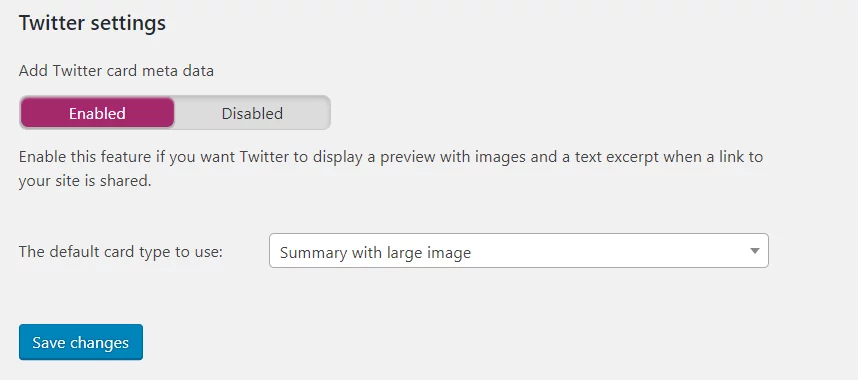
The Twitter tab helps you create Twitter cards that include Image and text.
Pinterest by default uses OpenGraph. You just need to verify your website with Pinterest.
5. Tools
The Tools page gives you access to the following tools:
- Import and Export: Here you can import seo settings from other plugin or export your Yoast SEO settings to another blog
- File Editor: This allows you to edit robots.txt file
- Bulk Editor: With this, you can quickly change titles and descriptions of your posts and pages without opening the editor for each page separately.
- Text Link Counter: This counts links in your text
So this was the complete look at Yoast SEO Settings. We hope you are now completely familiar with all the settings options.
Let’s see now how Yoast SEO helps you.
Yoast SEO in Action
The most important parts of Yoast SEO that impact the most are:
- SEO Title Setting
- Meta Description
- Focus Keyword Optimization
- Readability Analysis
These options are displayed just below your post in the editor screen. Let’s see how they actually work.
SEO Title Setting and Meta Description
Once you have finished the article, you will see the snippet preview tab of Yoast SEO where you can change the Title and Meta Description. This can have the biggest impact on your SEO as the Title and Meta Description will be directly visible in the search results. A Proper Title and Meta Description can be the deciding factors whether you get visitors or not.
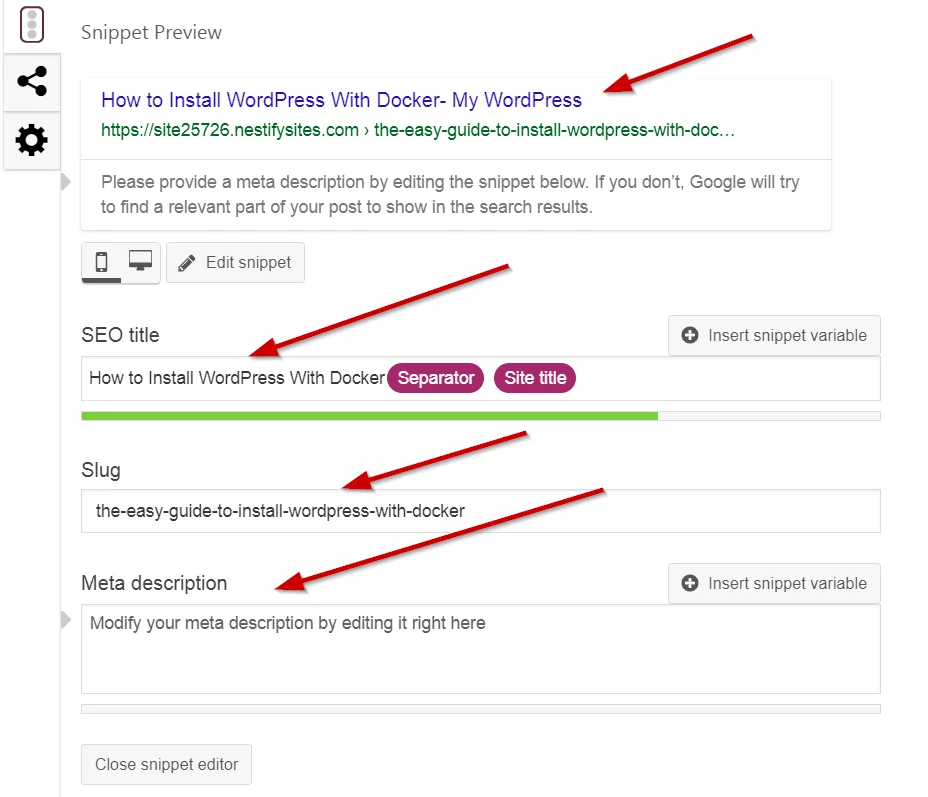
The plugin shows an indicator that turns green, orange or red depending on how good or bad your title length is. Aim for the optimal title length.
Here you can also change the slug for your post.
The Meta Description box is where you describe what your post is about. These three are the essential settings and should not be ignored when publishing a post.
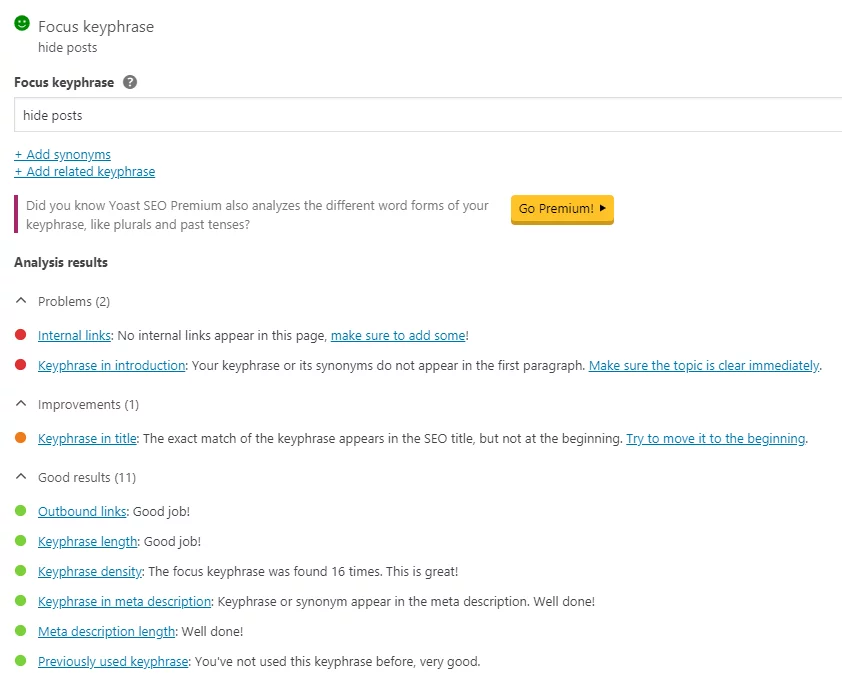
Focus Keyword Optimization
One useful feature of Yoast SEO plugin is that it gives you analysis for a focus keyword. It has a set of metrics based on which it calculates if the focus keyword is properly utilized in the post or not.
You get to know about:
- the keyword density,
- keyword distribution,
- internal links,
- outbound links,
- Keyphrase in Slug, Meta Description, Title
- Image alt attributes ‘
- Text Length
Based on these parameters, you can make effective changes to your content so that you can optimize it for search engines.
Readability
By far, this is the coolest feature of Yoast SEO. Here the plugin analyzes your content and scores it on the basis of how easy it is to read.
In addition to that, it also tells you about:
- Transition words
- Flesch Reading Ease
- Passive Voice
- Consecutive Sentences
- Subheading distribution
- Paragraph Length
- Sentence Length
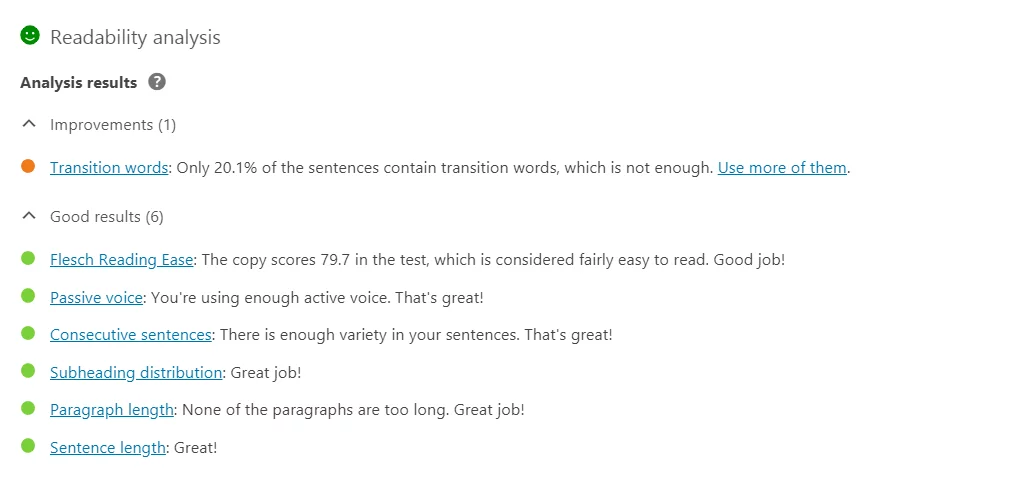
Each of these metrics help you fine-tune your content. Now, you may always get that green smiley each time you write something but it helps to know where your content is headed.
So this was our close look at Yoast SEO plugin, its settings, installation, features and how it can be of practical use. We hope this article helped you get a comprehensive idea about the Yoast SEO plugin. If you have any questions, do reach out to us in the comments.
