
This text aims to teach you to exclude a website or the internet WordPress blog permanently.
Delete a WordPress site definitely
Do you think that you can delete a WordPress site by deleting the files from the server? Delete a site from the server will make files unavailable, but your site may still appear in search results and instant cached. Anyway, the text will show how to permanently delete a site hosted on wordpress.org.
Always start by taking a complete backup!
The first thing you need to do is to create a full backup of your WordPress site. Even if you want to delete your site completely, you should still make a backup.
After all, you never know. If you change your mind in the future or want to access some of the content you had deleted, the backup you have taken can be utilized.
Delete the WordPress files
Delete the WordPress files stored on the server. Deleting these files will delete WordPress software as well as its themes, plugins, images and other media files.
Visiting your hosting account control panel, locate the File Manager icon.
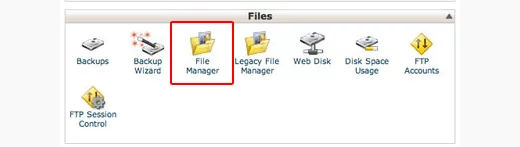
You have to go to the root directory and delete all files stored there. You can also delete your WordPress files using FTP.
Use robots.txt to block search engines
Now that you have deleted your website, it is time to block the search engines so that they stop indexing your website.
Remember, this robots.txt file is just a policy. It is respected by most search engines, but some lesser-known trackers can ignore it completely.
First, you need to create a new robots.txt file using the file manager in cPanel or FTP. After creating the file, you need to edit it and add the following lines:
User-agent: *
Disallow: /
These two lines disallow the user-agents (such as Googlebot crawlers) to access all the URLs under your domain name.
Remove content from search engines
Search engines understand that the sites can go down due to technical failures. Therefore, they continue to show content for a while hoping that your site will come back.
You need to tell the search engines that your content is no longer available. The easiest way to do this is by using the .htaccess file.
You need to create a new file in the root directory of your website and name it .htaccess.
Then you need to edit the .htaccess file and add the following code:
RewriteEngine On
RewriteCond% {REQUEST_URI}! ^ / Robots.txt
RewriteCond% {HTTP_HOST} ^ www \ .example \ .com $ [NC]
RewriteRule ^ $ (*.) - [L, L]
Do not forget to replace example.com with your own domain name.
This code will redirect all requests to your site and show a 410 error.
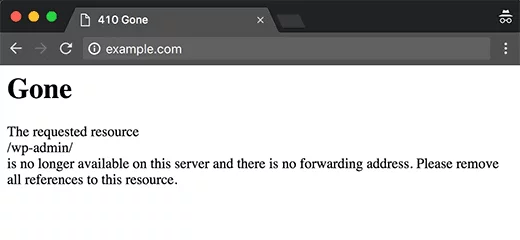
However, it will allow crawlers to access your robots.txt file.
Despite taking all the steps, this process can still take some time. You can speed it up even more by submitting a request for the removal of cache via webmaster tools.
